What are Adjustable Kitchen Unit Legs?

Black Adjustable Kitchen Unit Leg from Better Kitchens
Installing adjustable legs on kitchen units is a straightforward task that can greatly improve the functionality and appearance of your kitchen.
Whether you're fitting a new kitchen or updating an existing one, understanding how to properly install these legs will ensure your cabinets are level, stable, and look great.
This guide will walk you through the process step-by-step, using simple language and clear instructions.
What You Need
Better Kitchens' kitchen units come with adjustable legs that comprise three main parts:
- A: The Base: This part is pre-attached to your kitchen cabinets.
- B: The Leg: The main adjustable section.
- C: The Foot: Screws into the leg and allows for height adjustment.
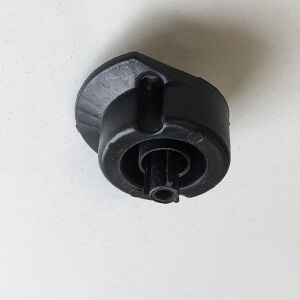
A: The Base
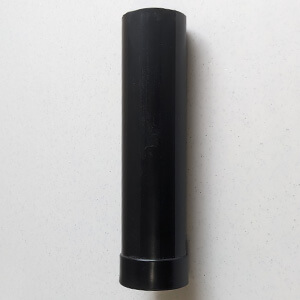
B: The Leg
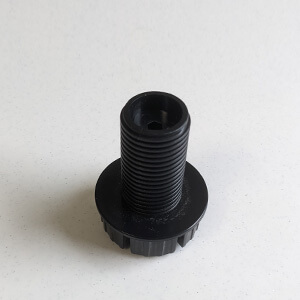
- C: The Foot
Step-by-Step Installation Guide
Step 1: Understanding Your Components
Upon arrival, your kitchen cabinets will have the base of the leg already attached in the correct positions.
This ensures that your plinths (the panels that cover the legs) will align perfectly with your cabinets.
Step 2: Attaching the Foot to the Leg
Your first task is to take the foot section and screw it onto the leg. This is done by twisting the foot onto the nub at the bottom of the leg.
Perform this action for each leg required by the cabinet—typically four, although some units may need six legs.
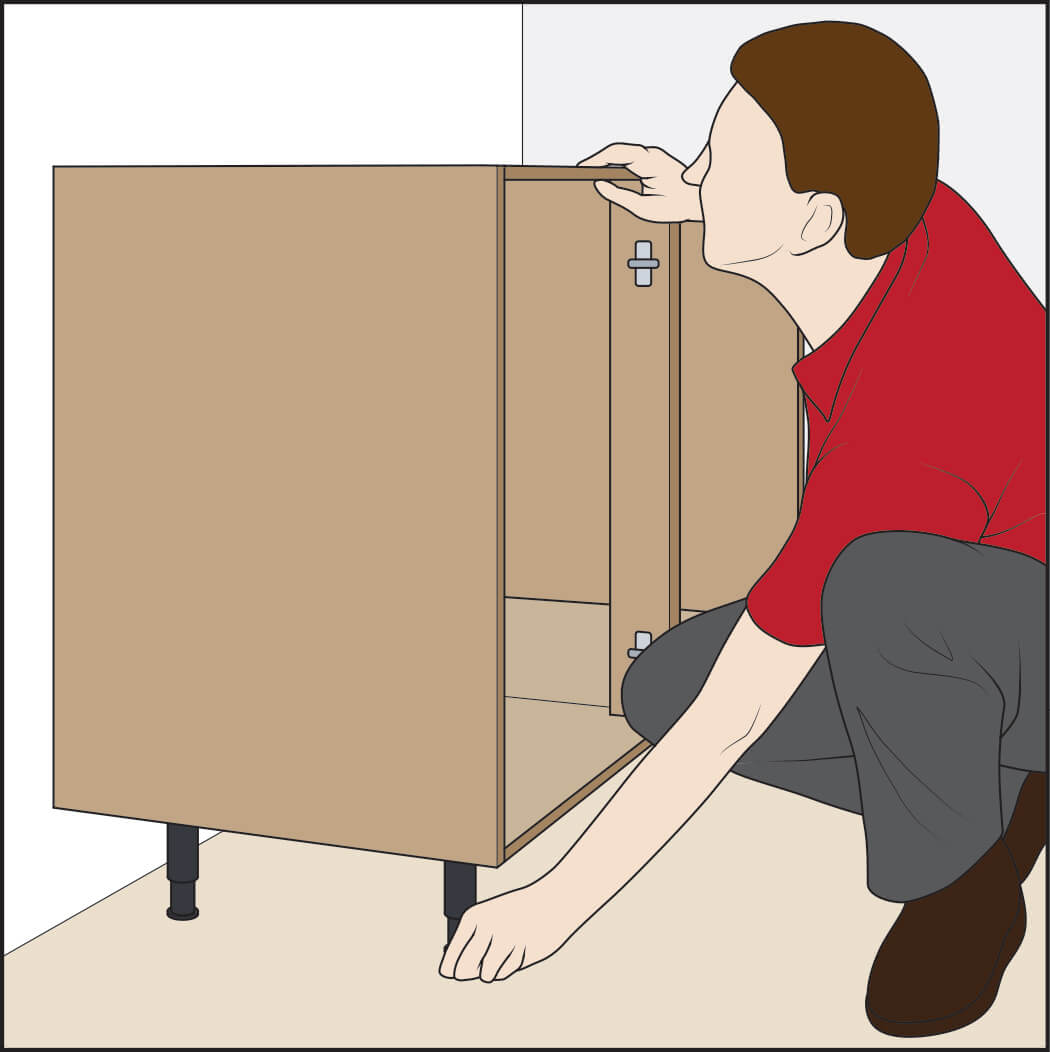
Step 3: Fitting the Leg to the Cabinet
Once the legs are assembled, insert them into the bases attached to the bottom of the cabinets. Ensure that you have the correct number of legs for each cabinet, usually four per unit.
Step 4: Adjusting for Height
The adjustable legs come with a standard height of 150mm, with a flexibility range of plus or minus 10mm.
If you need to adjust the height further, you can cut the leg section before inserting it into the base.
This step allows for custom height adjustments to accommodate uneven floors or specific design requirements.
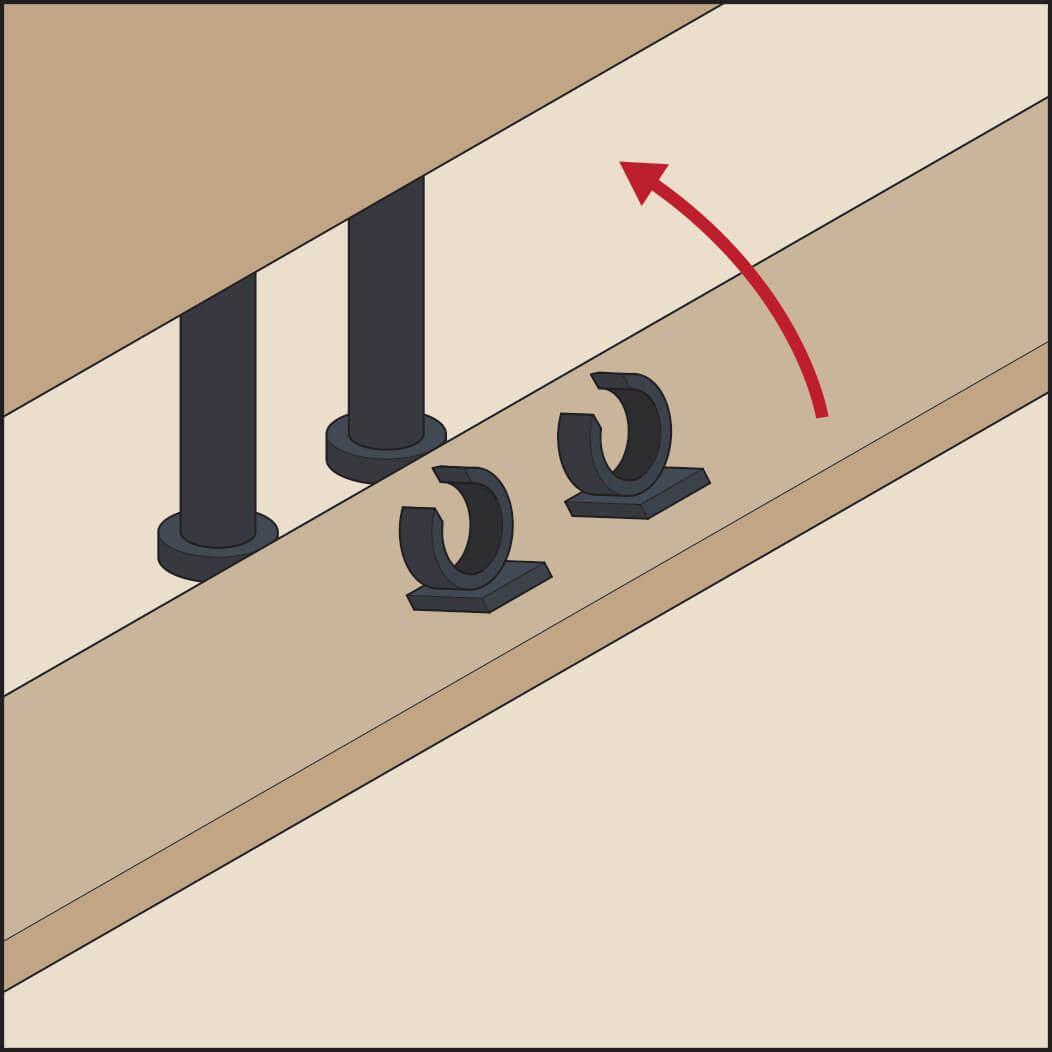
Step 5: Securing the Base
Although the base section comes with screw holes, it's important to note that screws are not necessary for the installation process.
The base is designed to be secured using a hammering method with a built-in pin, providing a sturdy foundation without the need for additional screws.
However, for larger cabinets or if you prefer extra stability, you can insert a 15mm screw into the provided holes for added security.
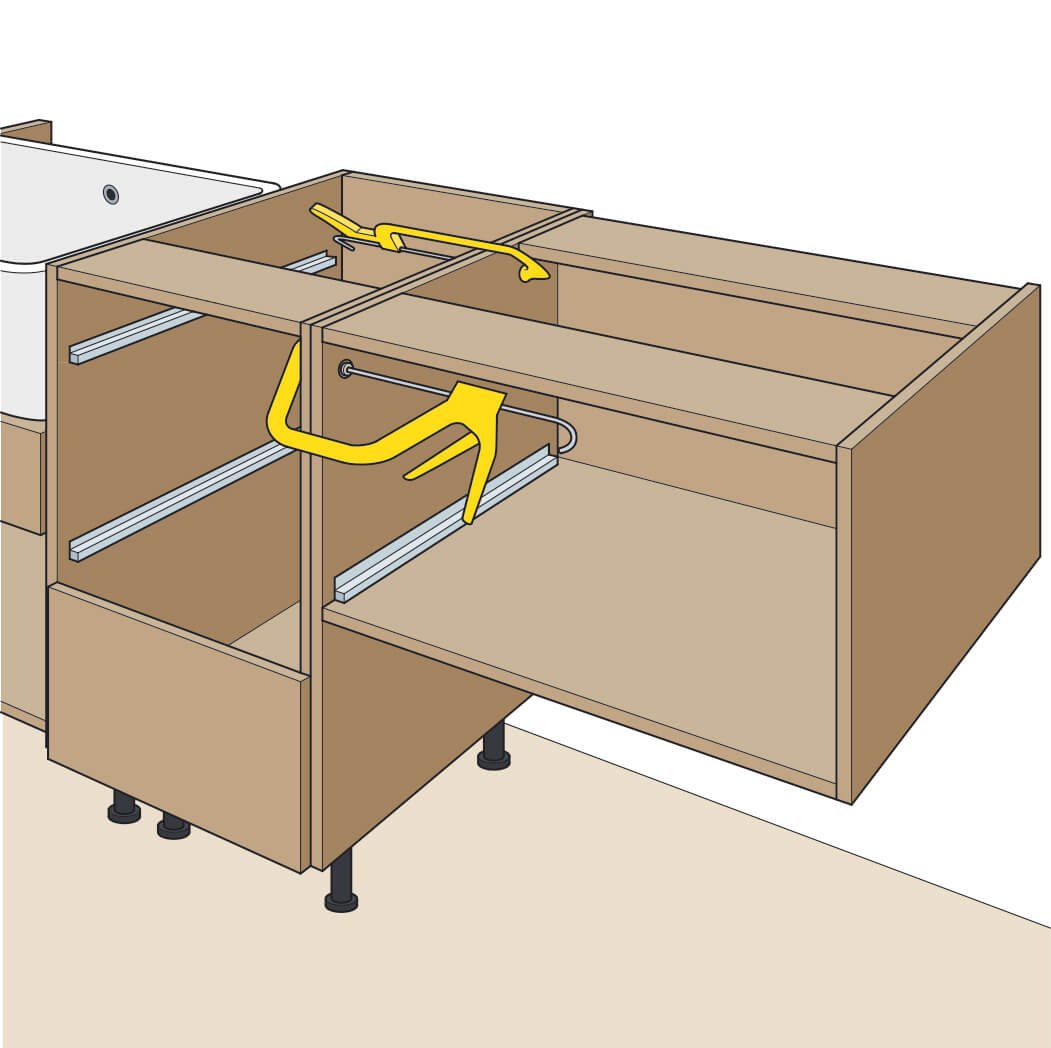
Step 6: Finalising the Installation
With the legs securely attached and adjusted to the desired height, you can now fix the cabinets to the wall. This ensures that your units are stable and won't move once installed.
After securing the cabinets, you can proceed with fitting the plinth, which covers and conceals the leg assembly for a neat finish.
Other Names for Adjustable Cabinet Legs
You might encounter various terms referring to these essential components, including:
- Adjustable cabinet legs
- Kitchen unit legs
- Black plastic feet
- Plinth legs
- Cabinet legs
- Base unit legs
- Cupboard legs
- Furniture feet
- Adjustable cabinet legs
- Kitchen cabinet support legs
- Base unit support feet
- Cabinet base levellers
- Furniture base risers
While researching kitchen cabinets and their components, it's important to note that you may come across various names such as these, but they all refer to the same essential component providing support and stability to your cabinets.
Conclusion
Installing adjustable legs on your kitchen units is a simple yet crucial task that can make a big difference in the functionality and aesthetics of your kitchen.
By following these steps, you'll ensure that your cabinets are level, stable, and ready to withstand the demands of daily use.
Remember, taking your time to correctly install these legs will pay off in the long run, ensuring your kitchen remains a durable and enjoyable space for years to come.
Whether you're a DIY enthusiast or a professional kitchen installer, this guide aims to provide you with the knowledge you need to successfully install adjustable legs on your kitchen units. Happy installing!