Guide to Appliance Filler Panels for Kitchens
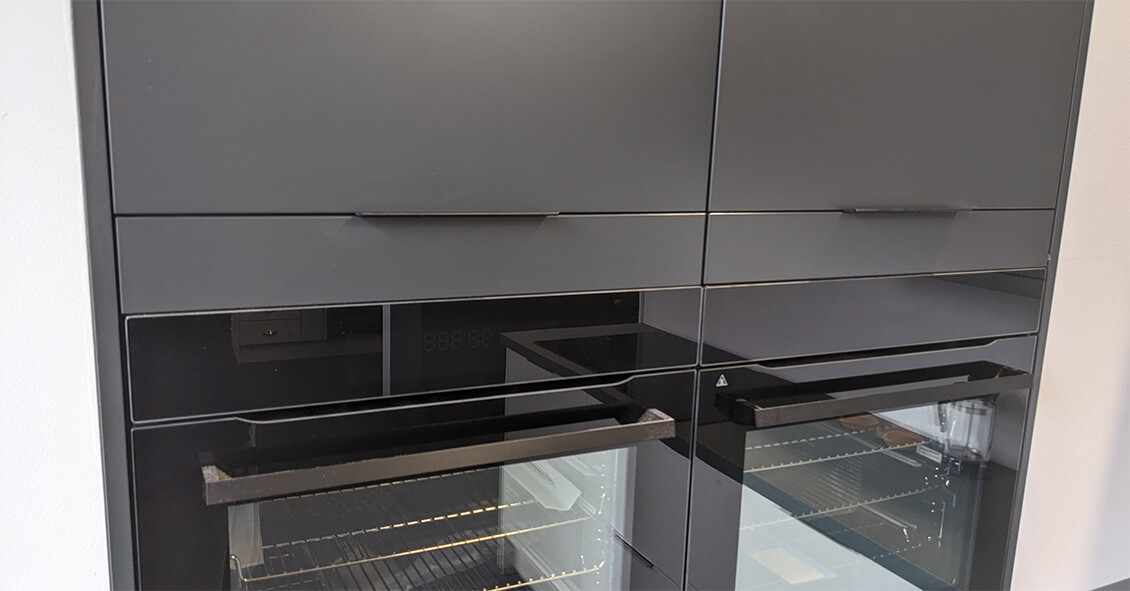 Appliance Filler Panel Finished Installation in Better Kitchens Showroom
When it comes to kitchen design, the devil is in the details. One such detail that can make a significant difference in the overall look and functionality of your kitchen is the use of appliance filler panels.
These panels might seem insignificant at first glance, but they play a crucial role in ensuring your kitchen is sleek, functional, and finished to perfection. Let's look into what appliance filler panels are, why they're important, and how you can install them with ease.
What Are Appliance Filler Panels?
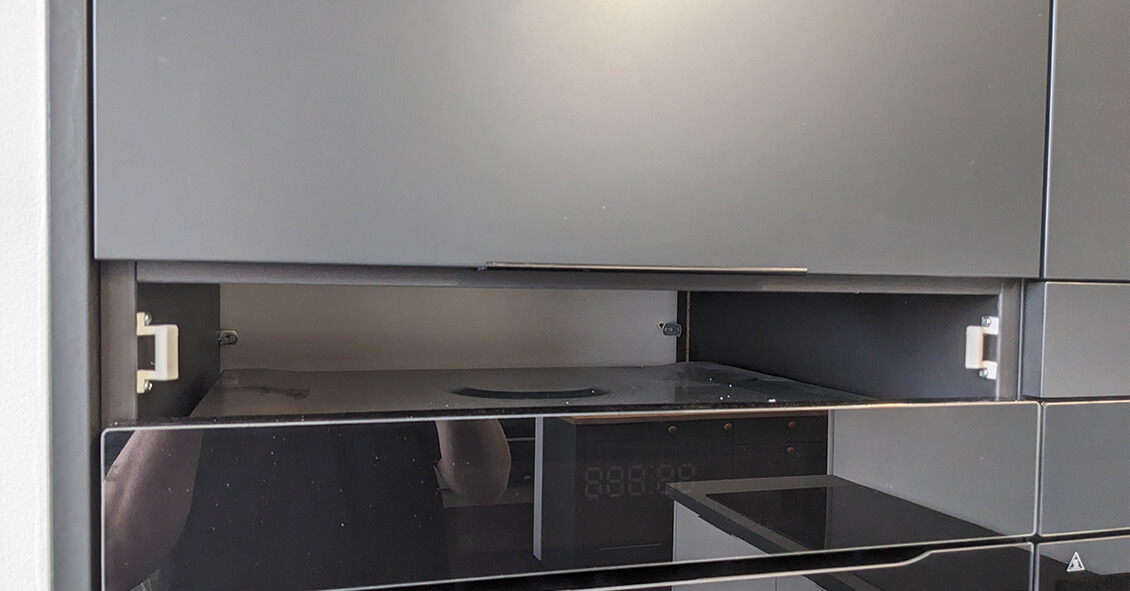
Gap above Single Oven where Appliance Filler Panel will be installed - Better Kitchens
Imagine you've just installed a new oven or microwave in your kitchen.
There's a small gap above the appliance that disrupts the seamless look of your cabinetry. Enter the appliance filler panel.
This nifty solution is a slim panel designed to fill gaps between kitchen appliances and cabinets, ensuring a flush and cohesive appearance.
Typically, these panels are 596mm wide, perfectly sized to fit the standard 600mm appliance housing.
Their height varies, usually between 100 to 115mm, but there are also 175mm options for appliances that require a taller panel.
Regardless of the size, all filler panels serve the same purpose—to fill unsightly gaps and give your kitchen a polished look.
Why Use Appliance Filler Panels?
The benefits of using appliance filler panels extend beyond aesthetics:
- Enhanced Aesthetics: They provide a seamless look by filling gaps, ensuring your kitchen appears meticulously designed and well-thought-out.
- Flexibility: Whether you have a microwave that's a bit shorter or an oven that's slightly taller, filler panels can be trimmed to fit, offering a custom solution to appliance installation challenges.
- Easy Appliance Access: By using removable fastening methods like spring clips, you can easily remove the filler panel if you need to service or replace the appliance.
How to Install Appliance Filler Panels
Installing appliance filler panels is a straightforward process that can be done with a few simple tools. Here are the steps you can follow to achieve a professional look:
1. Measure and Cut
First, measure the gap you need to fill. Remember, while the standard width of the panel is 596mm to fit a 600mm appliance housing, you'll likely need to trim the height to suit your specific appliance. Once measured, carefully cut the panel to size.
2. Choose Your Fixing Method
There are two common methods to fix the panels in place:
- L-Brackets: These are fixed from the inside of the cupboard, offering a sturdy solution. They're not visible from the outside, keeping the look clean and uncluttered.
- Spring Clips: These allow for the panel to be removable, which is handy for appliance maintenance. The clips are screwed into the cabinet and then attached to the back of the filler panel.
3. Seal the Edges
After cutting, you'll have a raw edge that needs sealing. This is important to prevent moisture ingress that could damage the panel over time. You can use silicone sealant or an edging strip to seal this edge. The colour of the sealant or strip doesn’t matter since it won't be visible, sitting flush against the appliance.
Spring Clip Installation Method
The Spring Clip Installation Method simplifies securing appliance filler panels with its flexibility and ease. These clips, screwed into the cabinet and attached to the panel's back, allow for easy attachment and detachment.
This method is perfect for those seeking a hassle-free way to access appliances for maintenance, ensuring a secure yet removable fit that maintains your kitchen's seamless appearance.
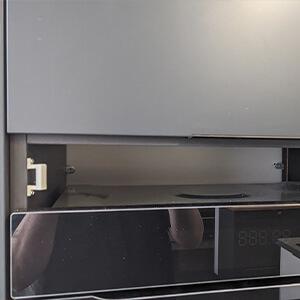 1. Screw spring clip mount to cabinet sides
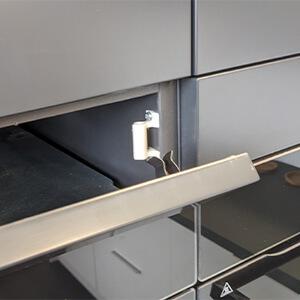 2. Screw spring clip to rear of the panel
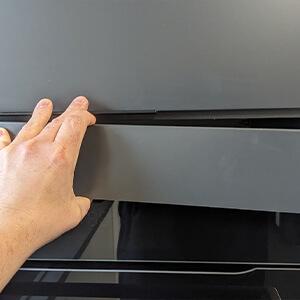 3. Place Appliance Filler Panel into position
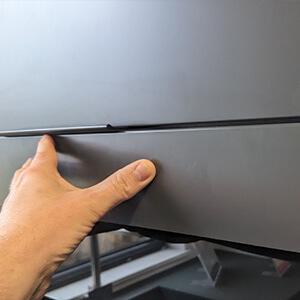 4. Push panel until it 'clicks' on to the mounts
 5. Admire your finished Appliance Filler Panel
Finishing Touches
Once installed, the appliance filler panel should look like an integral part of your kitchen. The sealed edges ensure longevity, while the fixed panel contributes to the overall aesthetics of your space. It's these small details that can make a big difference in the functionality and appearance of your kitchen.
Tips for a Perfect Finish
Here are some additional tips to ensure you get the best out of your appliance filler panels:
- Precision is Key: Take accurate measurements before cutting to ensure a perfect fit. A panel that's too large or too small can ruin the seamless look you're aiming for.
- Consider the Material: Choose a filler panel that matches the material and finish of your kitchen cabinets for a cohesive look.
- Professional Installation: If you're not confident in your DIY skills, consider hiring a professional to install the panels for you. This ensures a perfect finish and saves you the hassle.
Final Thoughts
Appliance filler panels may seem like a small detail, but they play a significant role in the overall look and functionality of your kitchen. By following the steps outlined in this guide, you can ensure that your kitchen not only looks great but is also practical and well-organized.
Remember, the key to a successful kitchen design is in the details.
Paying attention to these small elements can elevate your kitchen from good to great, making it a space you and your family will enjoy for years to come.
Whether you're embarking on a new kitchen project or looking to update your existing space, consider the impact of appliance filler panels. With the right approach, they can make a world of difference to your kitchen's
