The Complete Guide to DIY Kitchen Cabinet Installation
This comprehensive guide provides a general overview of the major steps involved in a DIY kitchen cabinet installation project.
The instructions provided should be suitable for most standard cabinet brands and kitchen layouts. However, always refer to your specific cabinet manufacturer's guidelines as well, as some brands may have unique installation requirements.
While this serves as a great starting point and overview of the typical cabinet installation process, minor variations in approach may be needed based on your cabinet brand’s specifications.
With that in mind, use the steps outlined below as a step-by-step guide as you take on the installation of your own cabinets!
Section 1: Planning and Preparation
Choose Cabinet Design and Layout
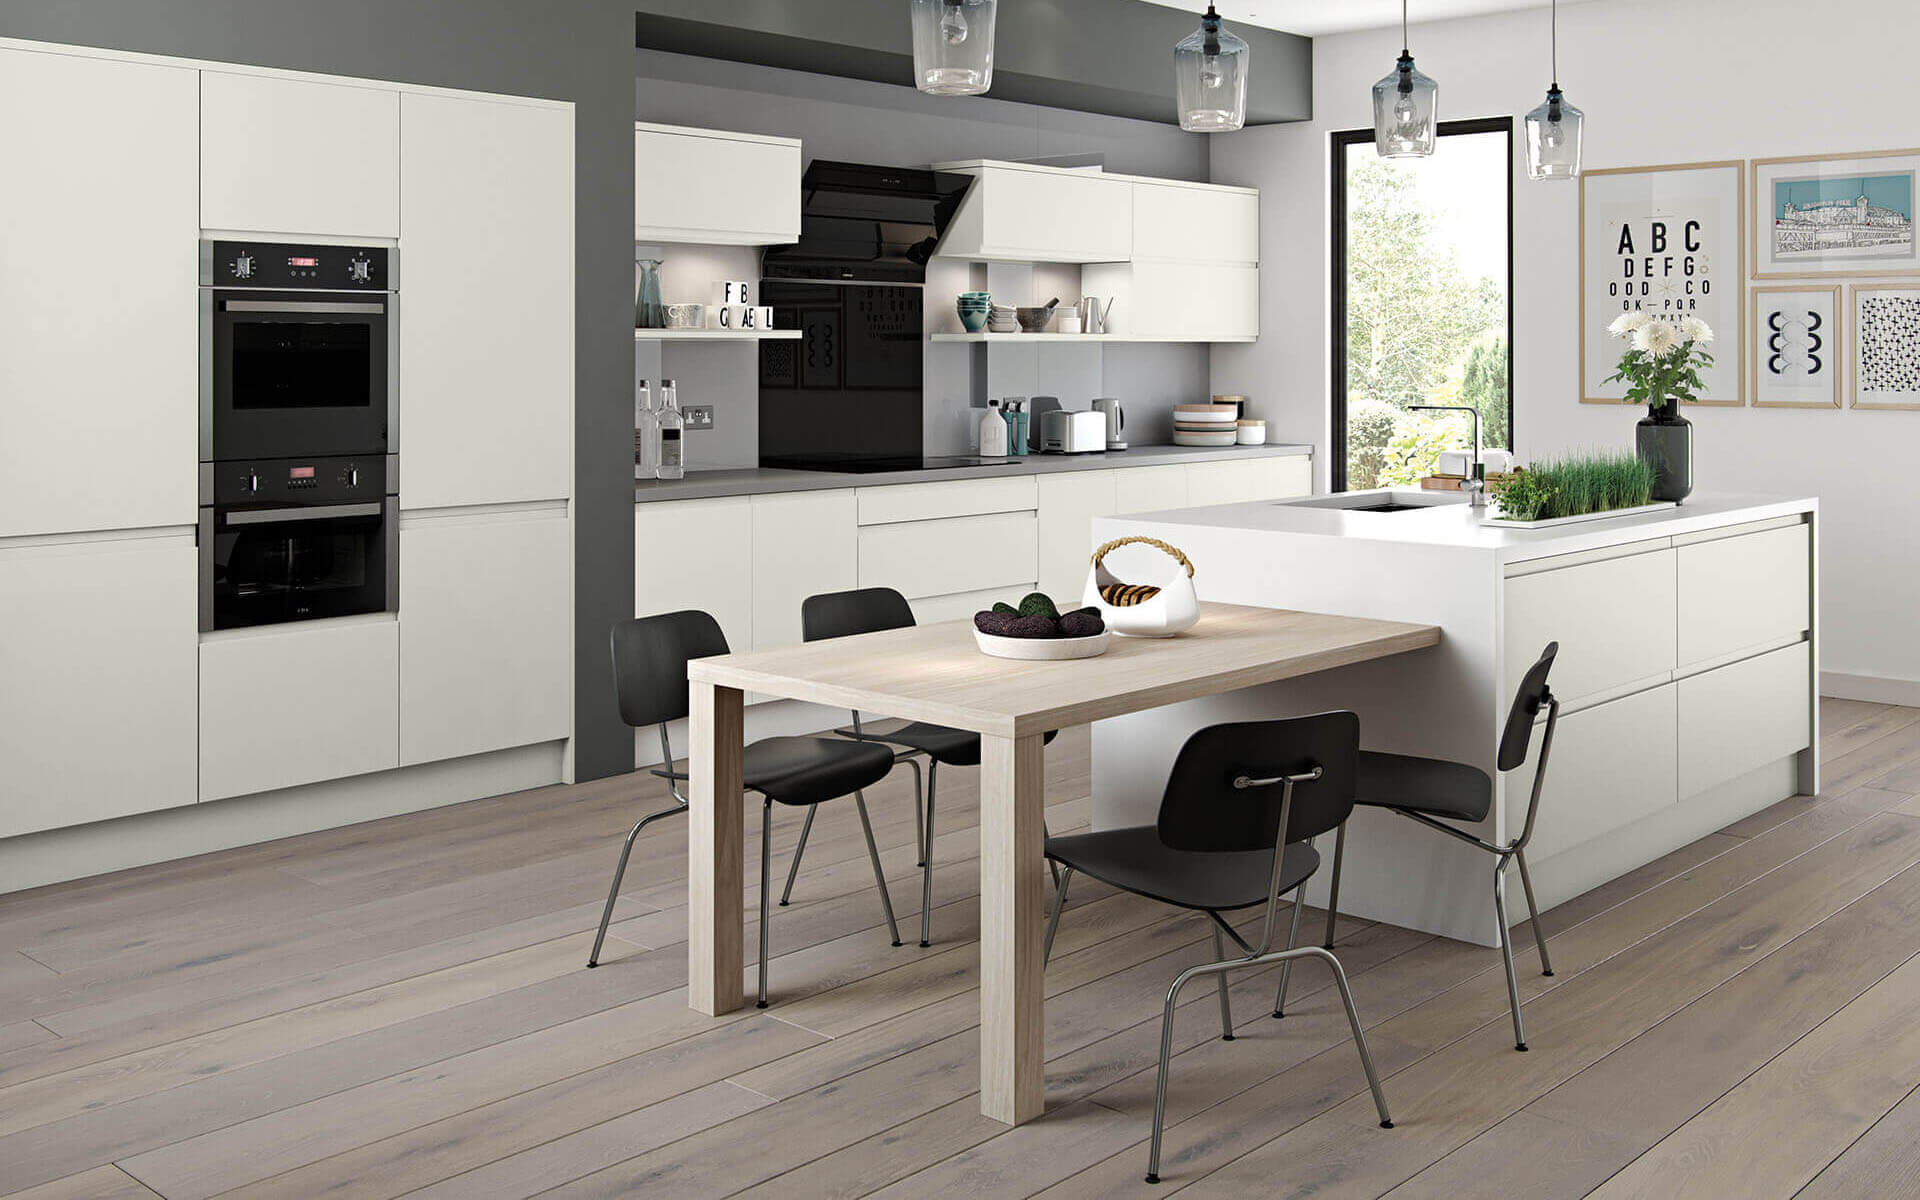
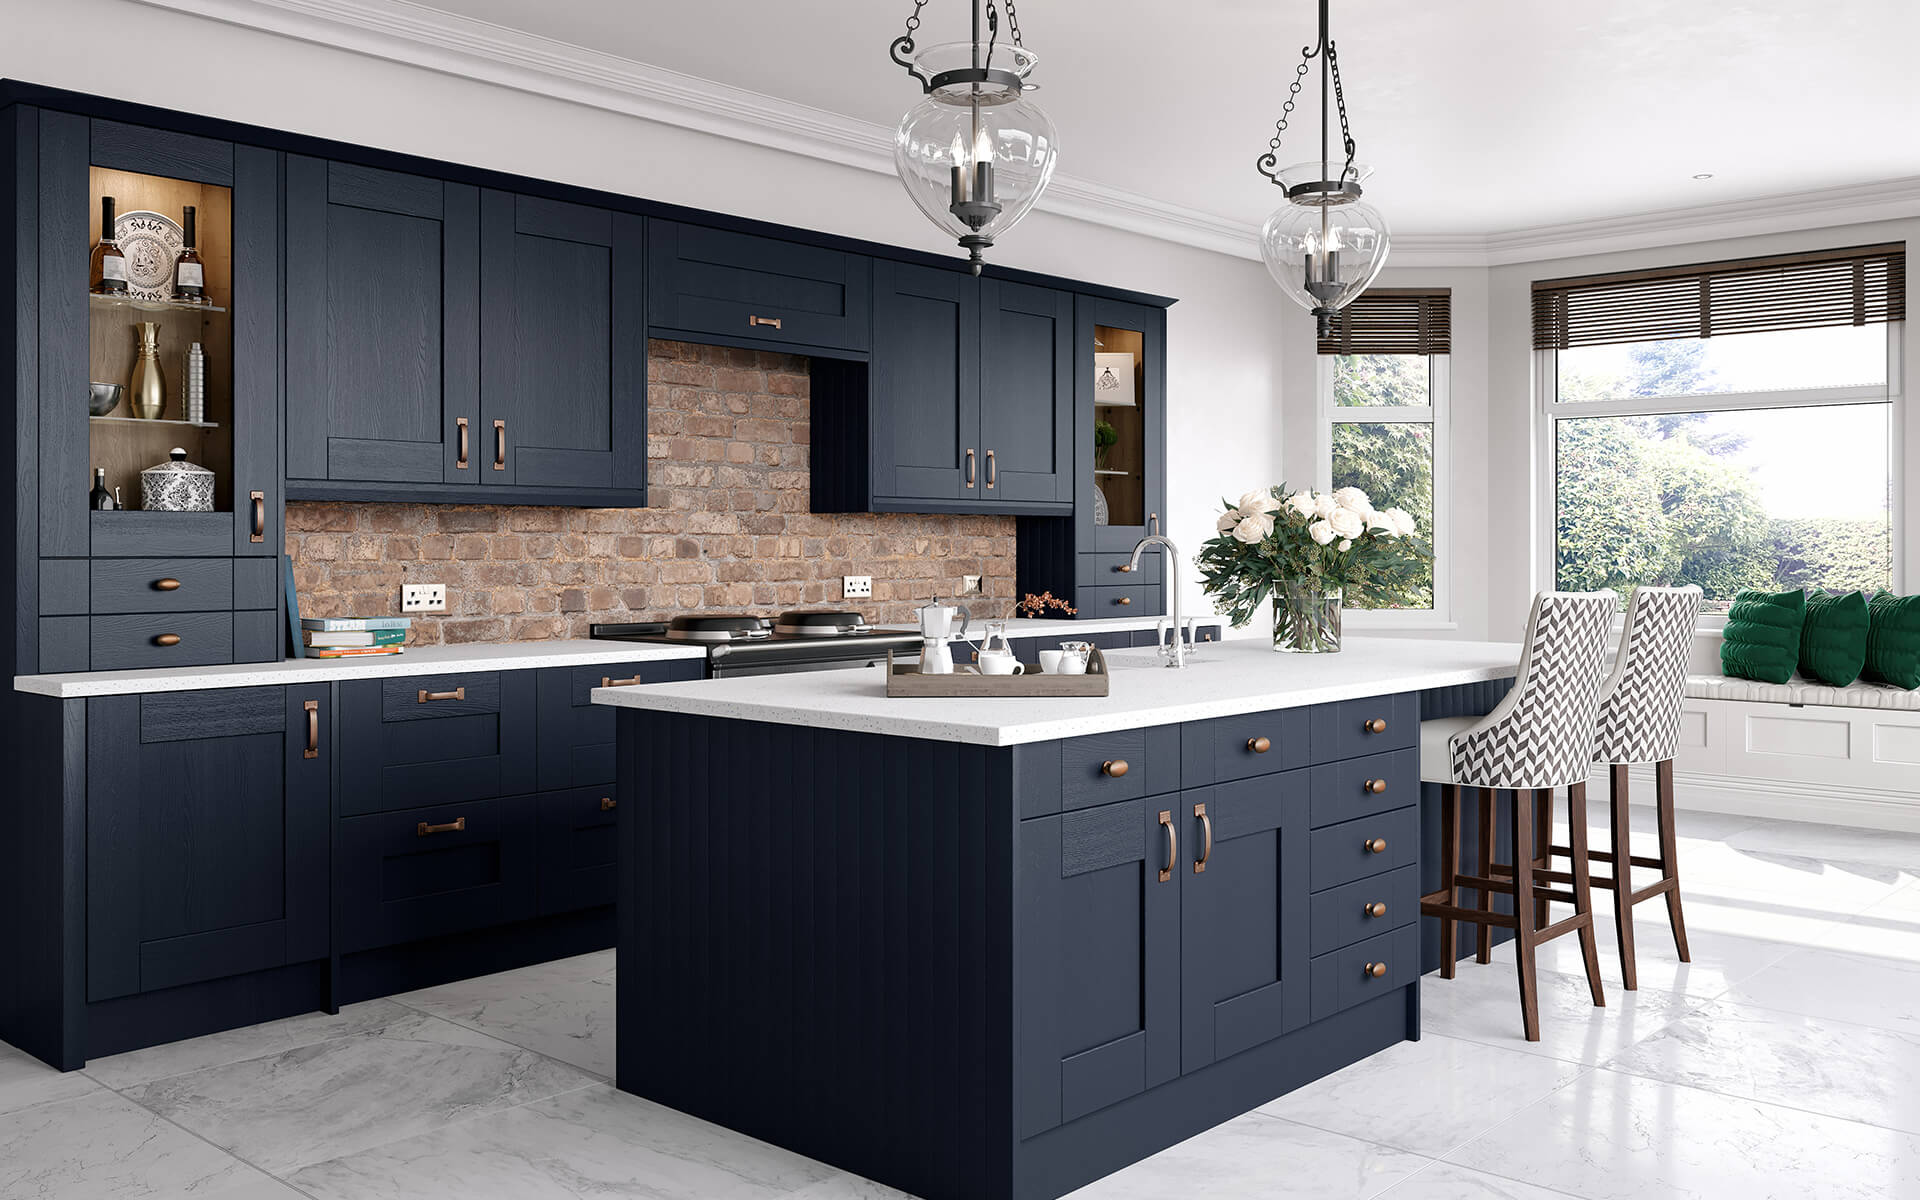
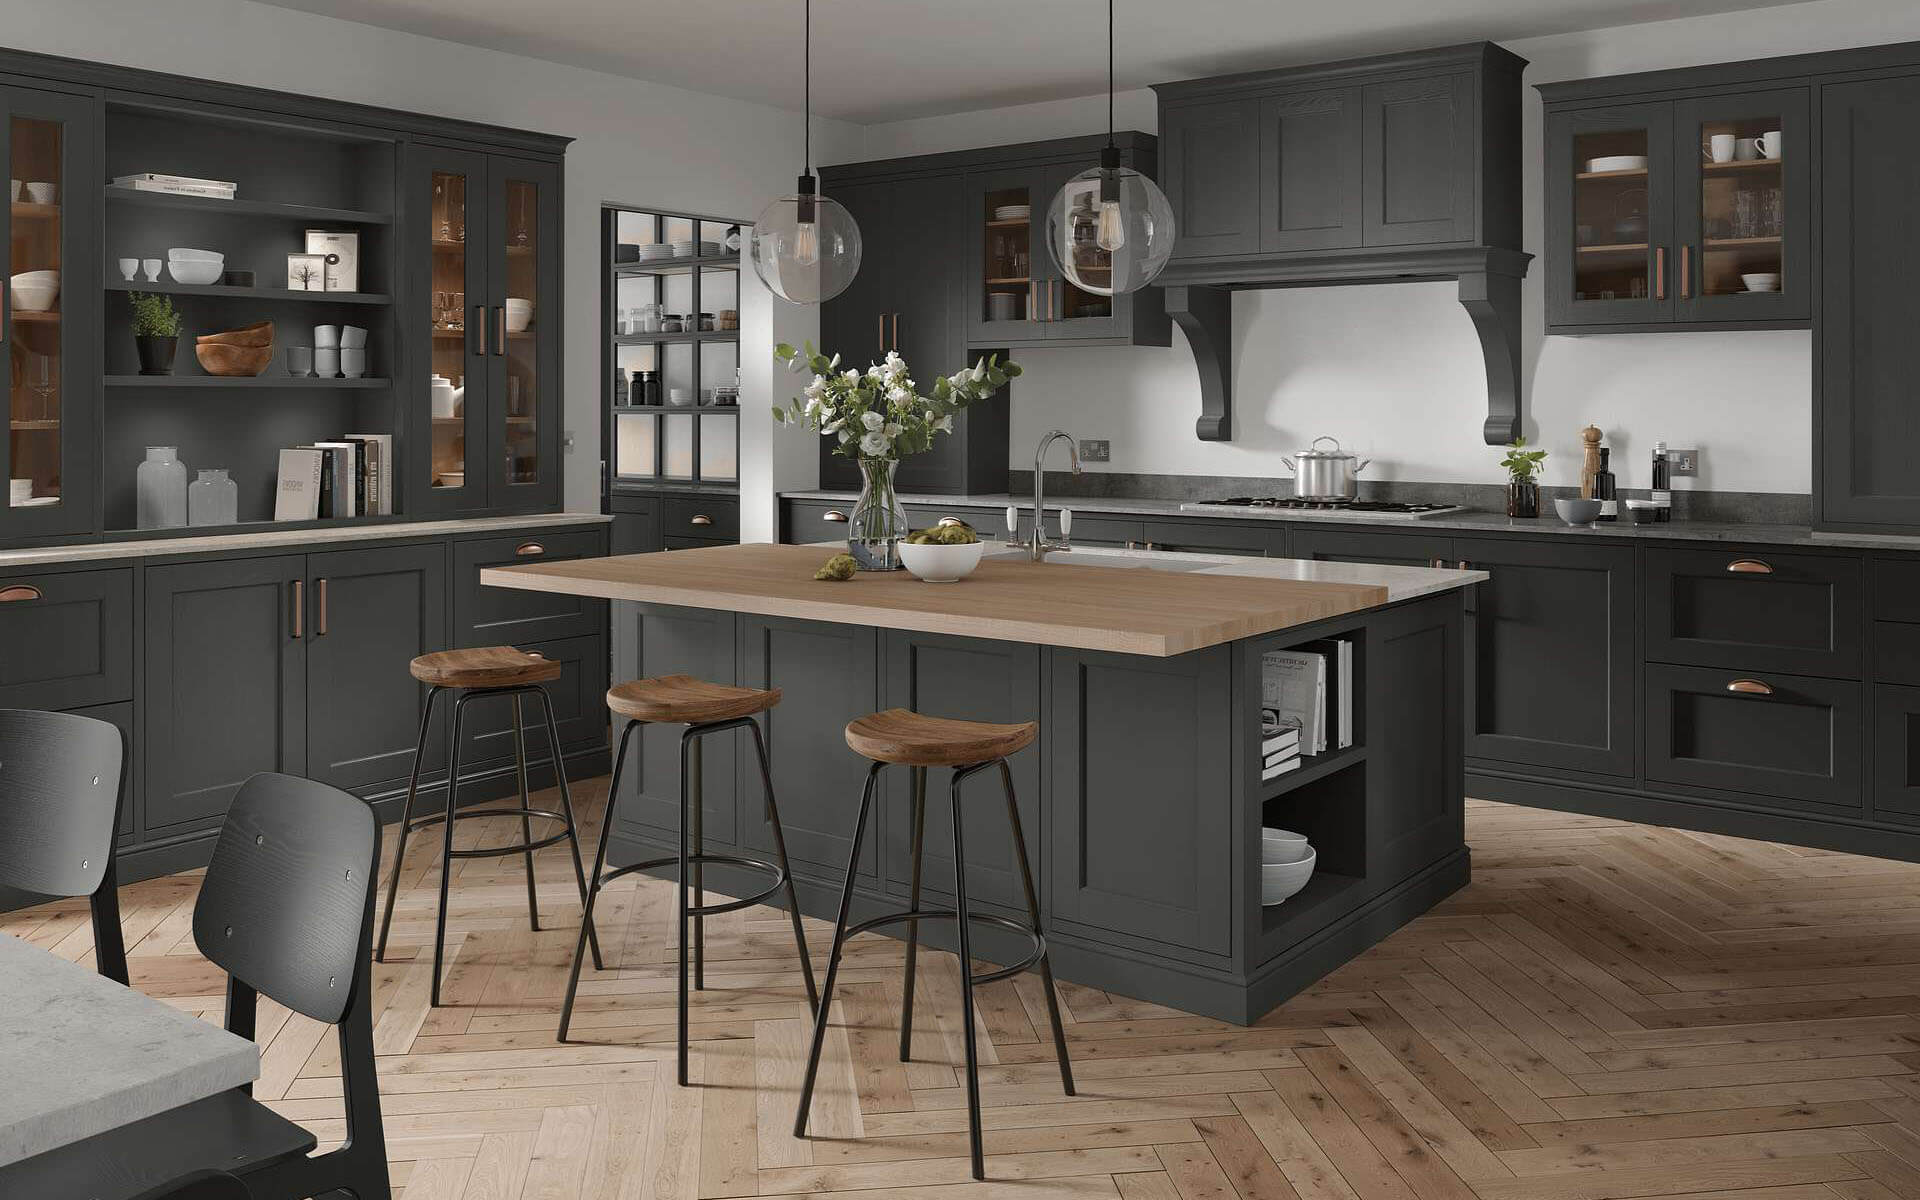
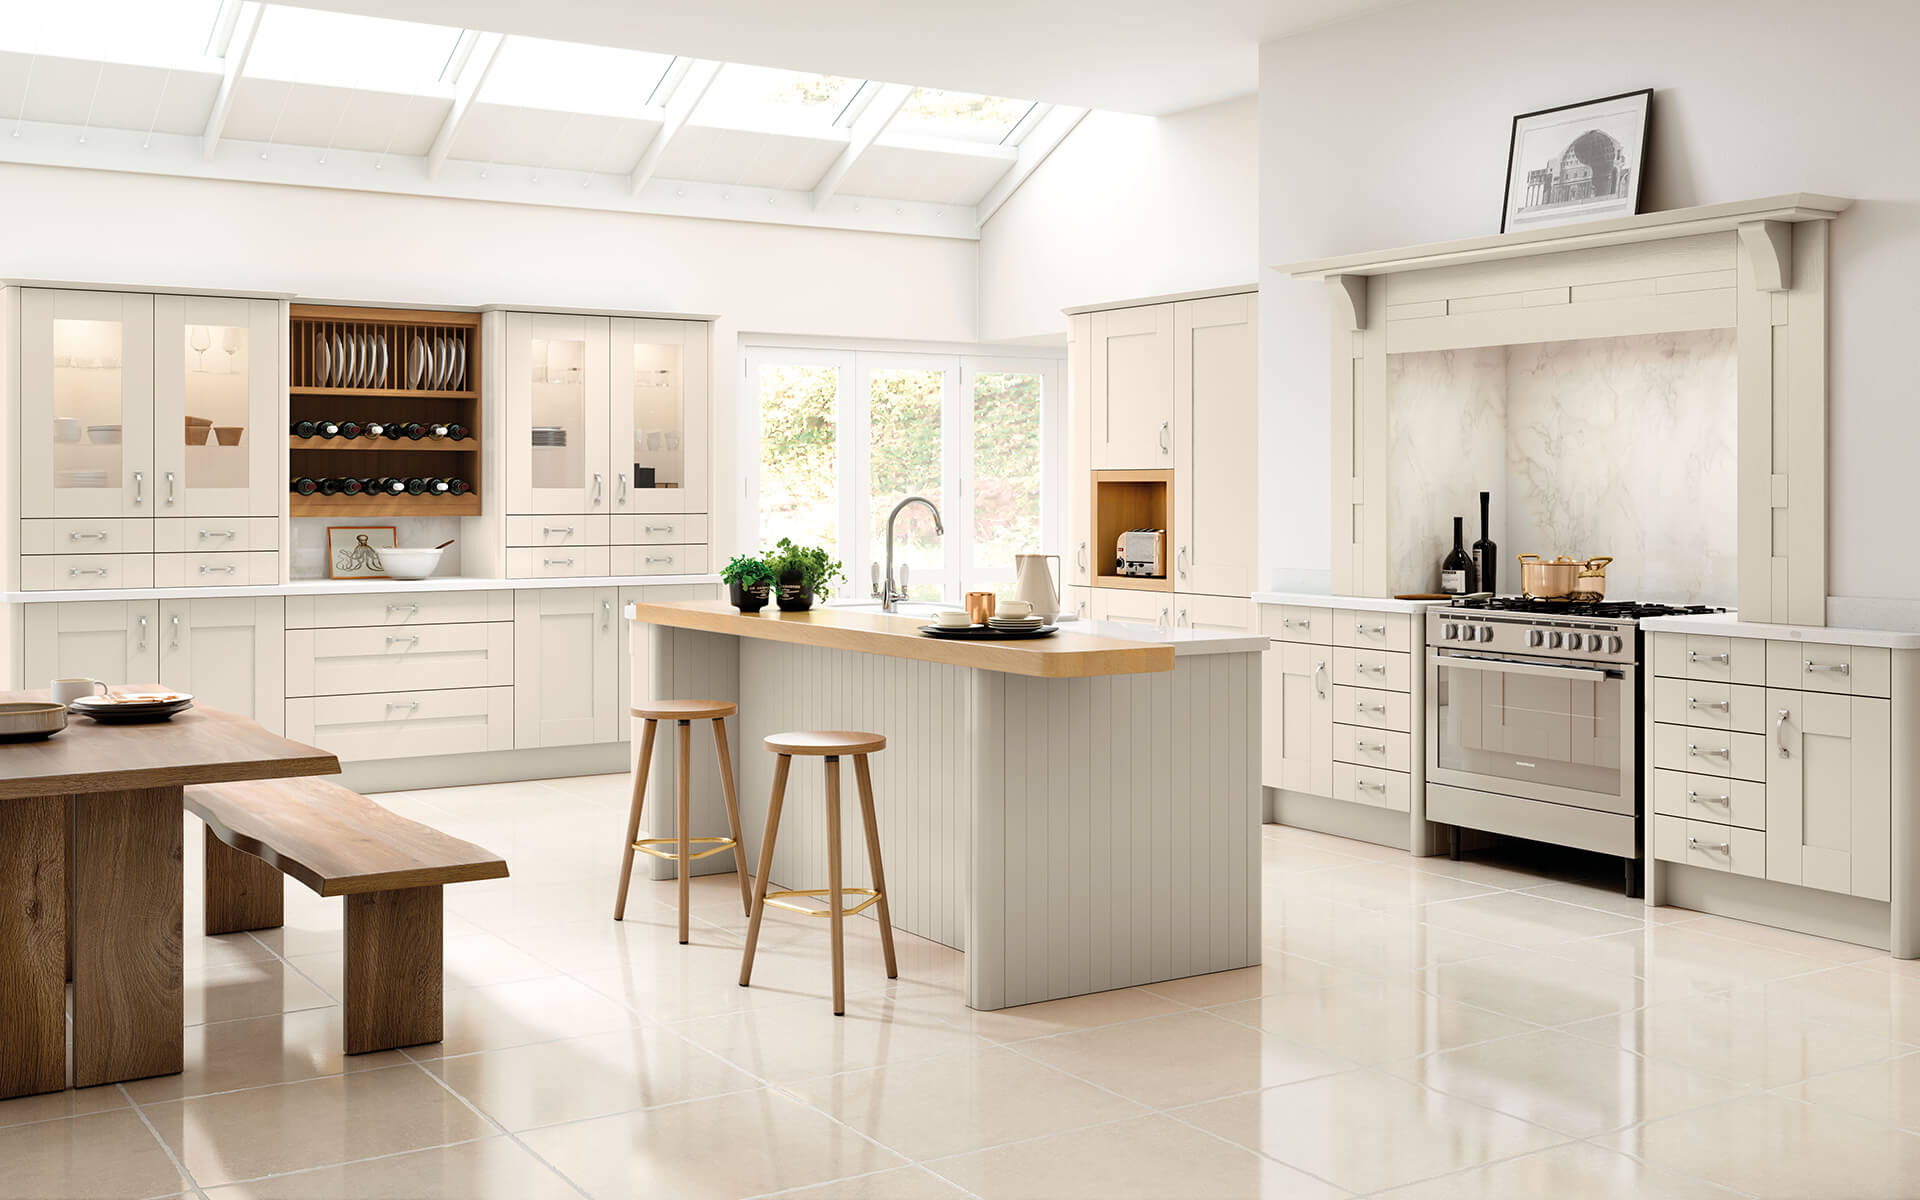
The first step in your DIY kitchen cabinet installation project is deciding on the design, style, colour, and layout of your new cabinets. Take time to research different cabinet finishes like painted or foil wrapped to select your preferred look. Painted, foiled, or laminate cabinets each create distinctly different aesthetic feels.
Consider complementary two-tone combinations like painted lower cabinets with crisp white upper cabinets. Establish the overall look you’re aiming for - modern, traditional, transitional etc. Also decide on standard or custom-sized cabinets. Custom provides an exact fit.
Aim to optimise storage space and kitchen ergonomics so your redesigned workflow is highly functional and efficient. Have a clear vision for your dream kitchen before purchasing materials.
Select Specialty Cabinetry and Organisational Features
Incorporate specialty cabinetry like pull out fittings in corner areas, rollouts, pull out shelves, and other smart additions suited for your family’s needs and cooking style. Consider glass-front cabinet doors to elegantly display prized dishware.
Pull-out spice racks, tray dividers, and adjustable shelves add tons of custom functionality within cabinet interiors. Under cabinet lighting provides brilliant task lighting for key work zones. Select features purposefully to maximise usage of each inch of precious cabinet real estate.
Order Quality Cabinets and Hardware
Research cabinet brands thoroughly and read reviews to choose quality materials that fit within your budget. Order samples to view finishes and foil patterns in person for the best visualisation. Provide accurate measurements and dimensions for each base, wall, and specialty cabinet for a precision fit.
Take your time - never rush the ordering process. Leaving ample lead time ensures cabinets arrive well before installation day. Confirm all cabinet boxes, doors, drawers, hardware, lighting, knobs and pulls arrive intact and ready for install.
Demolish Existing Kitchen and Pre-Installation Repairs
Clear out the old kitchen completely to make way for fresh new cabinetry. Carefully remove all existing old cabinets without damaging your kitchen walls. Scrape away debris and caulk build-up fully. Address any underlying flaws like holes or uneven areas in your floors, walls and ceilings that could impact the new installation.
Create an ultra clean slate by sanding, patching, levelling or replacing any damaged areas. Your new cabinets will only look as flawless as the foundation beneath them, so take time to repair imperfections for best results.
Assemble Proper Tools, Equipment and Materials
Having the right DIY installation tools on hand will make your workflow smoother. Invest in must-have tools like a tape measure, stud finder, 4 foot level, laser level, drill and driver bits, hacksaw, nail gun, and rubber mallet. Safety gear like goggles, work gloves and knee pads protect you on the job.
Other essentials include wood shims, cabinet screws, C-clamps, a sturdy ladder, and drop cloths. Have plenty of rags for wiping away dust and debris as you work. Ensure your workspace is neat and orderly to prevent lost parts or hardware.
Read Installation Manuals and Watch Tutorials
Never attempt installing new kitchen units without understanding the proper techniques. Thoroughly read the installation manuals for your new cabinets from start to finish. Watch online video tutorials to see steps in action. Take notes on measurements, levelling tips, and assembly sequences.
If possible, take a kitchen cabinet installation workshop or class at a hardware store to learn techniques hands-on from experts. Have an experienced DIYer friend provide pointers. Being highly prepared minimises mistakes.
Section 2: Installation Day

Safety Checks and Prep Work
The big cabinet installation day has arrived! Start by clearing and cleaning your workspace. Cover floors with drop cloths. Have helpers readily available to assist with lifting cabinets into place. Re-read installation manuals and manufacturer instructions.
Test all tools and equipment ahead of time so you’re not fumbling with malfunctioning gear once you get going. Check cabinet boxes for any damage before starting. Follow safety protocols like wearing gloves and goggles.
Mount First Cabinet
Traditionally you’ll want to install your corner base cabinet first when mounting your new base kitchen cabinets, as this unit will anchor your layout. Use a level line to determine the highest point and the accurate height for the top of the base cabinets and draw a straight horizontal line across at the highest point on the wall to guide your positioning.
Have a helper hold the corner cabinet flush against the wall, aligned with your guide line. Pre-drill pilot holes through the cabinet back rails into the wall stud locations. Use a drill to insert screws firmly into the wall studs to hang the first cabinet plumb and level before starting the second cabinet.
Add Remaining Base Cabinets
With your corner base cabinet properly secured, work outward through your kitchen installing additional the next cabinet one-by-one. Before permanently screwing them into the wall studs, use C-clamps to tightly join the face frames of the adjacent cabinets.
This keeps them flush as you attach them. Continue pre-drilling pilot holes into studs, then use your drill to mount screws into the wall studs to hang each base cabinet. Frequently check for level alignment against your main guideline as you work across the kitchen.
Precisely Install Wall Cabinets
Once base cabinets are installed firmly, shift your focus to mounting wall cabinets directly above each base cabinet location. Use a stud finder to locate and mark the wall studs above your base cabinets, it can sometimes be a good idea to mark a line at the high point and where the bottom of the cabinet to finish to check for movement later on. Lift wall cabinets into place temporarily, with a helper holding them flush against the wall.
Pre-drill pilot holes at the stud marks, then use your drill to install wall cabinets into the studs only - never depend on drywall alone to support weight. Ensure all wall cabinets are level across the front face and the bottom of the upper cabinets is also level. Adjust until perfectly level lines are achieved.
Include Specialty Cabinetry
Refer back to your kitchen layout plan for proper placement of any specialty cabinetry like angled corner units or blind corner cabinets with lazy susans. Follow the same mounting procedures as standard cabinets, taking care to position specialty cabinets precisely according to your measurements. Leave no gaps that require filler strips.
Section 3: Cabinet Completion and Finishing Touches

Doors, Drawers and Interior Fittings
With all the bottom cabinet boxes securely mounted to your kitchen walls, shift focus to adding functionality with doors, drawers, and interior fittings:
- Mount hinges to cabinet frames, then hang doors and adjust so they align flush when closed.
- Insert drawers on tracks and ensure they open/close smoothly. Adjust tracks as needed.
- Add pull-outs, spinning lazy susan trays, adjustable shelving, and other interior organisers as desired.
Trim Out and Conceal Gaps
Take steps to seamlessly blend your new cabinets for a built-in look:
- Carefully caulk around cabinets with clear silicone, smoothing with a wet finger for invisible seams.
- Install matching trim moulding with finish nails and wood glue for durability. Use wood filler in any nail holes before painting base moulding.
Thoroughly Clean Cabinets Inside and Out
Remove any dust, debris, or packaging material from exterior and interior cabinet surfaces using a quality cleaner.
- Use a ladder to reach the tops of wall cabinets.
- Vacuum and mop floors thoroughly to prepare for cabinet loading.
- Carefully caulk around cabinets with clear silicone, smoothing with a wet finger for invisible seams.
- Install matching trim moulding with finish nails and wood glue for durability.
- Use wood filler in any nail holes before painting base moulding.
Style and Organise Your Fresh Kitchen
Remove any dust, debris, or packaging material from exterior and interior cabinet surfaces using a quality cleaner.
- Add knobs, pulls and any other hardware like soft-close hinges.
- Style with kitchenware, cookbooks and décor befitting your design scheme.
- Organise dishes, meal prep tools and pantry items conveniently into your custom cabinetry.
Section 4: DIY Cabinet Installation Success Tips

- Carefully Read ALL Manufacturer Instructions Never skip or skim over steps in the cabinet instruction manuals. Follow directions precisely and fully for best results.
- Watch Online Video Tutorials. Watch multiple tutorials to see proper techniques in action before attempting them yourself. Pause and replay videos to master skills.
- Label Cabinets on Back Per Layout Before install day, label the back of the cabinet box according to your layout. This keeps your workflow smooth and organised.
- Measure Twice, Level Precisely Measure meticulously at each step to avoid major mistakes. Use levels religiously to ensure cabinets hang straight and true. Shims can make minor gap adjustments.
- Pre-Drill Holes Before Driving Screws Always pre-drill pilot holes before driving screws to prevent cracking or splitting cabinet materials. Proper hole boring is key.
- Mount Into Studs, Not Just Drywall Cabinets must be screwed firmly into wall studs to support weight properly long-term. Locate studs precisely.
- Work Slowly and Double Check Everything Work methodically, carefully and safely. Rushing leads to errors. Double check measurements and levelness continuously.
- Ask a Skilled Friend for Help If Unsure. If confused on any step, ask an experienced DIYer for guidance. Two sets of hands are better than one. Don’t go it totally alone.
Conclusion
Installing your own kitchen cabinets can be deeply rewarding, and also challenging. By following the steps outlined in this guide, you can enter your cabinet installation project well-prepared for success. Focus on precision planning, taking safety seriously, and work slowly with tools you’re comfortable with.
Patience and persistence will pay off in the form of stunning new custom cabinetry scaled perfectly for your cooking needs. While DIY cabinet installation requires effort and attention to detail, the savings and pride of completing a major kitchen remodel yourself make the hard work totally worthwhile. Your dream kitchen awaits!
Ready to start your kitchen cabinet project? Browse our selection of high-quality kitchens and hardware at Better Kitchens.

